I managed to find time to play the second scenario yesterday.
Like the previous one, this scenario was played using the Fireteam Andromeda rules. I have been considering switching to Angel Barracks KR 16, but I need to run a test scenario first. That might become the next AAR..
The Mercs from Warg Industries had failed to stop the Union from warning their supply base, but the attack would have proceed in any case. Their employer, the powerful Sanada-Bio Corporation, had made it clear that the sample in Union hands needed to be re-captured. Or if that was impossible, destroyed..
Meanwhile, the Union base commander had received the warning, but with so little notice, he radioed for back-up, knowing they would most likely be too late to help..
The supply base luckly had a small garrison, some 4 sections of infantry as well as a single section of Mk II Jotun Power Armor. They didn't know about Warg's infiltrator units however, or that they were closer than the could ever have guessed.
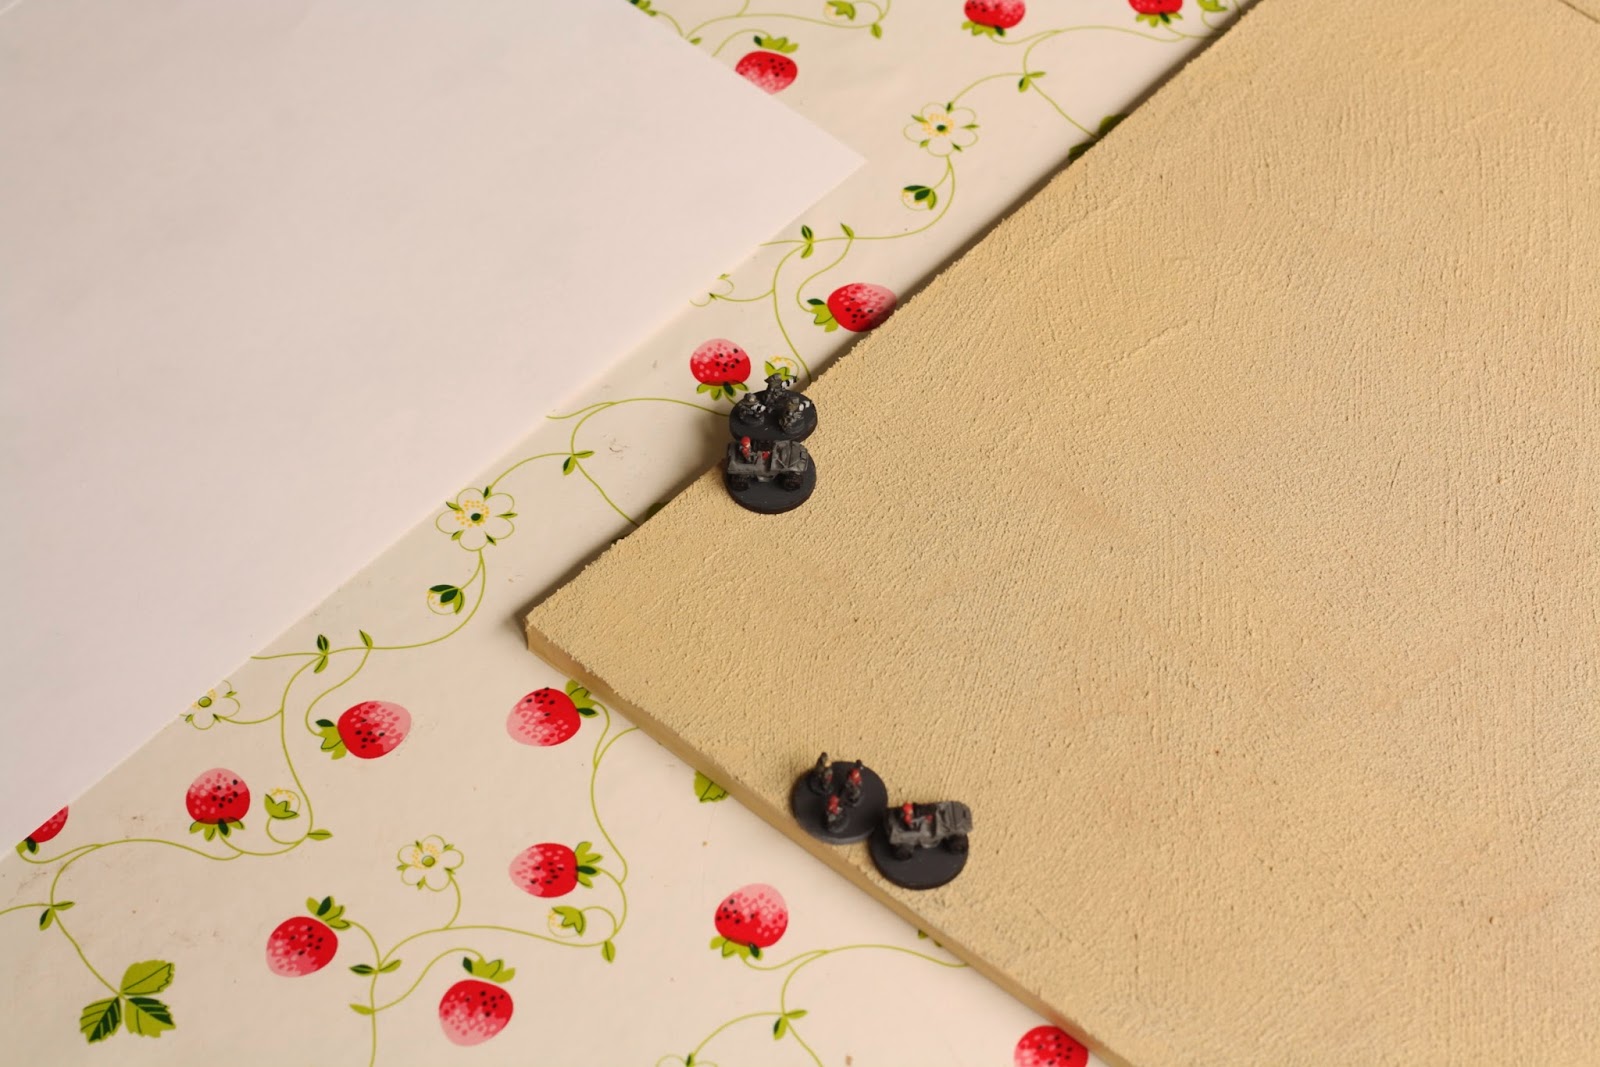
The Stage was set, and the mercs have the initiative.
They waste no time engaging the enemy, the rangers disembark from their transport to lend more firepower.
Between the elite rangers rifles and the machinegun mounted on the buggy, 4 of the 6 Union Soldiers go down, the sudden attack cause them to panic!
The Merc's commander, not wanting to confront the rocket-launcher of the Union troops guarding the south gate, disembark behind the wall of the compund. Machingun fire from the command buggy takes down 2 troopers.
Knowing that the buggy will rip them apart if given the chance, the Confident Union troops return fire! Their rocket goes wide, but concentrated rifle-fire is enough when the fuel-tank is hit. The buggy blows up!
The union commander starts ordering his troops, moving to reinforce both gates.
In an attempt to capitalize on the surprise, the Warg commander orders the infiltators to make themselves known. Only one of the 2 units appear however..
Start of the second turn, Union command takes the initiative!
The Power Armor is ordered to engage the new threat, and the fire as they advance, killing 4 of the 6 infiltators. The remaining 2, one of them carrying a flame-thrower, manages to return fire. The inferno amazingly consume the entire PA unit.
Air still reeking from the smouldering remains of the PA, the infiltators move to search the shipping crates for the illicit sample.. And they have the devils own luck, they find it on the first attempt!
Deciding that the supplies are expendable, the Union commander fires his grenade-launcher into the mass of crates, hoping to kill the last infiltrators. The deafening blast sends shrapnel flying, killing one of the surviving Infiltrators.
The Union troops try to sneak up on the enemy commander, but he spots them through a rec-drone, and turns to face them. In the ensuing meleé, one of the Union troopers is slain.
Turn 3, The final group of infiltrators arrive, they had to Dodge Union patrols and arrived after the main force. Initiative shifted back to the Warg Mercs.
Sensing that they are getting bogged down in fighting, the remaining buggy tries to force the gate. OKI compound gates are harder than they seem though, and they only damage it.
The rangers are more successful, finishing off the shocked unit of Union guards.
Since they were holding the sample, all the infiltrators had to do was get out of the supply base.
Jumping into the truck, the infiltrators speed up, hoping to ram the gate. The South gate is no weaker than the west one though, and its damaged but holding.
Sensing an opportunity, the commander turns to fire a grenade at the truck, before they get away!
The truck is not as grenade-proof as the infiltrators might have liked, as it blows up!
When they disembark, they are in for another nasty surprise! Union troops whips up a storm of metal, finally finishing off the lone infiltrator.
At the end of the third round, the second infiltrator unit moved up, and more fighting between the Merc commander and the last Union Soldier.
At the start of the 4th turn, Union command and the south gate Union troops moves out, commander to watch the west gate and the troops out the south gate.
A shreiking of metal can be heard, as the buggy breaks through the west gate, charging into the middle of the compund!
At this point, my camera died, so the rest of the photos are taken with my mobile, sorry for the quality
The fire from the MG on the buggy rips the commander apart.
Infiltrators move up to deal with the South gate troops. a hail of bullets and a blast of flame later, only a single trooper is out of action.
When the Union section returns fire, they don't just kill 4 out of the 6 enemies, they break their morale at the same time!
Inside the compound, the last Union section yet to activate, turn the corner to attack the enemy vehicle. The weight of fire is too much for the buggy, it breaks down and catches fire!
Turn 5, things are getting desperate for the Mercs, they have little time and the sample is not in their hands, or destroyed.
The Warg's command fights the lone trooper, and they were forced to disengage.
The south gate section kills of the last infiltrators with their LMG.
Over by the remenants of the west gate, the Union engaged the rangers, knocking out 2 of them.
When the rangers return fire though, they show the difference between their training and the Union grunts. All of the troopers are wiped out in a single controlled sweep.
Finally, the Warg command takes out the persistant lone trooper, after Close to 3 turns of fighting alone.
Turn 6, the last turn.
Trying to get the Mercs to pull back, the last Union section fire on the commander, killing both his officers and wounding the commander himself.
Realizing its the last chance before the need to pull out, they took a long shot at the sample, and made the shot! They are not called elites for nothing!
It was a tense game, looking like it could go either way for most of the game. But since the sample was destroyed, the mercs clearly won this one, despite heavy casualties.
I hope you have enjoyed this AAR!


No comments:
Post a Comment